Website Here!
Tuesday, July 16, 2013
Ever After High Website OPEN NOW! :)
It's finally open! User names are going FAST, so grab the one you want now if you can. More information on the website later! :)
Website Here!
Website Here!
Monday, July 15, 2013
Ever After High VIP Information
Just a quicky before my next doll review. :) I'm a bit all caught up with Ever After High at the moment (if you couldn't tell... ;) and I just wanted to share this. :)
When I was at Justice the other day getting the rest (squeel!) of the Ever After High dolls, I saw a small sign on like one of the journals or something saying "text for Ever After High VIP information". My interest was piqued.
So I sent a quick text.
And soon enough I got a picture of the logo and a brief synopsis of Ever After High. *Mild disappointment* :/
But TODAY.
Today it was all worth it. I got an adorable video clip. And as far as I can tell, it's not on their official website or YouTube, so it's pretty "VIP". (For being free.... ;)
Since I know you want to see it, here it is. All twenty seconds of quirky cuteness. :)
UPDATE: The full election video came out today (a day later) and you can watch it HERE. Thankfully it's higher quality. :) Still, it was fun to get a sneak peak.
When I was at Justice the other day getting the rest (squeel!) of the Ever After High dolls, I saw a small sign on like one of the journals or something saying "text for Ever After High VIP information". My interest was piqued.
So I sent a quick text.
And soon enough I got a picture of the logo and a brief synopsis of Ever After High. *Mild disappointment* :/
But TODAY.
Today it was all worth it. I got an adorable video clip. And as far as I can tell, it's not on their official website or YouTube, so it's pretty "VIP". (For being free.... ;)
Since I know you want to see it, here it is. All twenty seconds of quirky cuteness. :)
Text with the clip: "Maddie may be putting the cup before the kettle at this year's Royal Student Council elections."
Adorable, no?
If you want to text subscribe as well, just text "STORY" to 91919. (Message and data rates may apply.)
OR... leave a comment down below if you would like me to keep posting these "VIP" gems as they come :)
UPDATE: The full election video came out today (a day later) and you can watch it HERE. Thankfully it's higher quality. :) Still, it was fun to get a sneak peak.
Friday, July 12, 2013
How to make Maddie Hatter EVEN CUTER!
Today I'm going to show you how I added detail to my new Ever After High doll's plastic accessories with acrylic paint. Feel free to try it yourself! :)
It always amazes me when dolls have incredibly detailed molded accessories with little to no paint! I understand that it would be hard for a factory to paint every little thing accurately, so I just paint them myself!
Here we have Madeline Hatter. A super cute doll with sadly under-painted belongings. Let's help her out.
Things you will need:
- Plastic accessories (be sure you're willing to paint them. Acrylic paint usually can fleck off easily if you don't like it, but you've been warned!)
- Acrylic Paint (it needs to be acrylic to stick to the plastic without hurting it. No oils!)
- I use liquitex basics but most brands should work.
- Make sure you have colors that match your theme. For Madeline I only needed Metallic Gold, White, silver, and green and blue to mix her turquoise. :) And brown for the tea!
- A palette or something to squirt paint on. (Even a scrap of newspaper is fine)
- A very tiny brush and/or toothpicks. (I used a 10/0 Master's Touch spotter and round toothpicks)
- Water and paper towel to clean your brush off between colors.
- Creativity!
Let's get started!
1) The Hairbrush
Madeline comes with a great key hairbrush, but its molded details become lost in a sea of purple.
I painted it before I thought to take pictures, but it's easy enough. I used gold paint to highlight the logo, the dots, the key teeth, and some of the molded bands.
Close up on the design, don't worry about making it perfect since it's so small.
2) The Stand
The detail on this stand was what made me want to paint all of Madeline's stuff. It's so incredible and very easy to paint!
I started by painting the letters. However, painting on plastic is different from painting on paper or canvas. As you can see above, there are two very different methods between the E and the A. Since plastic is slippery, if you merely brush the paint on you get the thin coating of letter A. For letters E and V I carefully applied the paint by moving in small circular motions (like how you're supposed to brush your teeth) and dotting it. Don't be afraid to keep it thick. This is how you get it very opaque.
It looks better already. If an area won't get as opaque as you want it, let it dry and then do a second coat later. As you can see, my H isn't quite perfect yet, so I'll come back to it.
Next, dot all the dots with gold. I used a tooth pick for this.
Then, paint the key hole using the same thick circular technique.
However, I thinly brushed it on the tassels for a change in texture. Play around with the different techniques!
Paint the logo.
And finish off with dots down the key and a pretty E and A!
All done! Fun fact: I messed up on the Ever After "A" the first time but it easily wiped off! Acrylic won't really bond to plastic so this process is removable. You can wipe it off with a wet paper towel when it's still wet, or just scratch it off when it's dry. However, don't be afraid of it coming off. I didn't seal this design and it seems to be holding up well. If you want your paint to be permanent, however, just give it a quick spray with a clear acrylic sealer.
3) The Teapot
| Before |
Maddie's Teapot is already adorable, but let's just highlight a bit of the details.
| After |
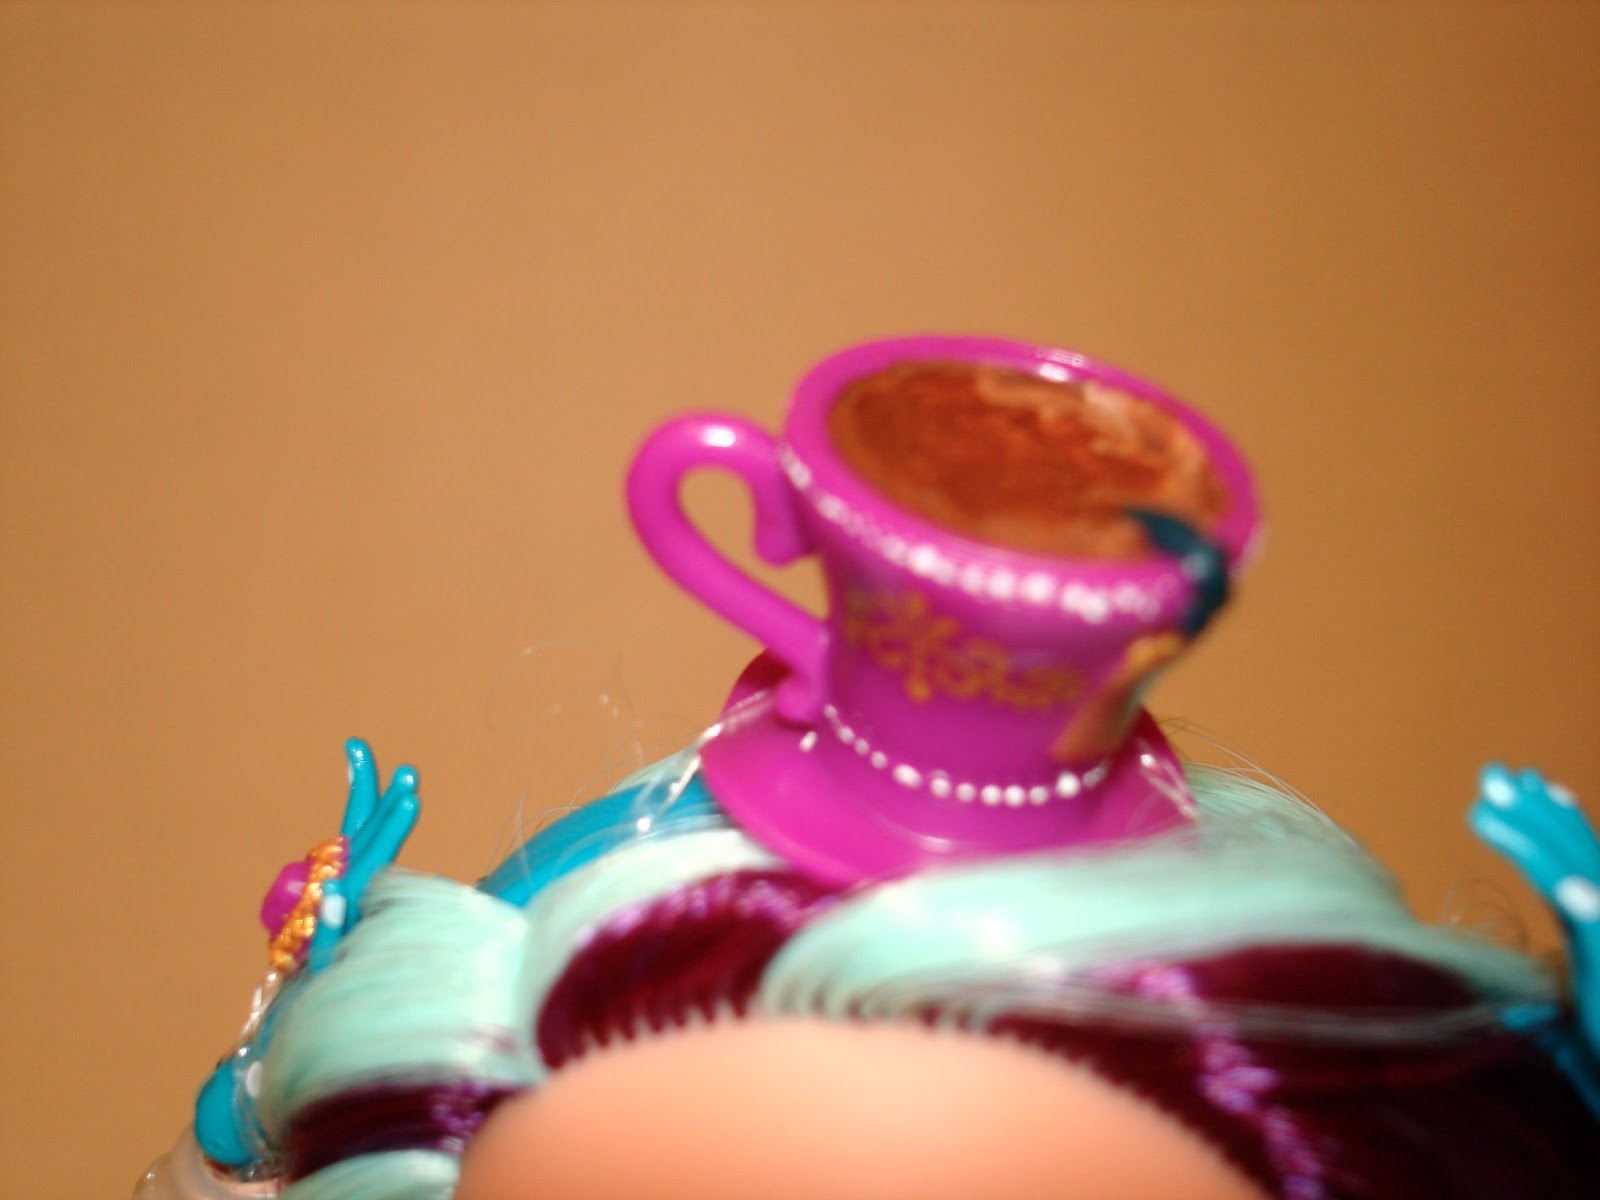
Sorry this picture is a bit blurry, my camera doesn't like taking pictures this small! I added white to the dots around the top and base with a toothpick. I also used a toothpick to color the dots on the lid teal. Finally, I used my small brush to make the bow on top gold. This looks like a much more unified design to me! :)
(Tip: I mixed my white paint with a bit of metallic silver paint to give it a bit of a shine and make it a bit pearly. Not a necessity, but fun!)
4) The Ring!
| Before |
This is probably my favorite modification--and the easiest! Just take Madeline's purple ring....
| After |
And dot gold around it with a toothpick! :) Foolproof!
5) The Shoes
| Before |
Maddie's shoes are pretty amazing by themselves. I just wanted the back filigree a little more noticeable.
| After |
A little gold paint, and voila! This looks a lot harder than it was. Instead of individually painting each minuscule swirl, I dipped a toothpick tip in gold paint and then scrapped it lightly against my palette to remove the excess. I then lightly rubbed the thinly coated tip across the design and the ridges automatically caught the paint! Super easy!
6) The Hat
| Before |
This is the modification with the most visual impact.
| After |
Like on the tea pot, I dotted the dots white on the top and bottom. Then, to make it look like there's tea in her hat, I painted the inside varying shades of light brown, swirling the color. To finish it off, I painted the tea bag's string turquoise to match the rest of her outfit.
Magnifique!
7) The Necklace
| Before |
Her necklace was really quick.
| After |
All I did was outline the two circles next the the gold bow in gold using the same technique as her ring. Then I painted one gold bead on her right to balance the design.
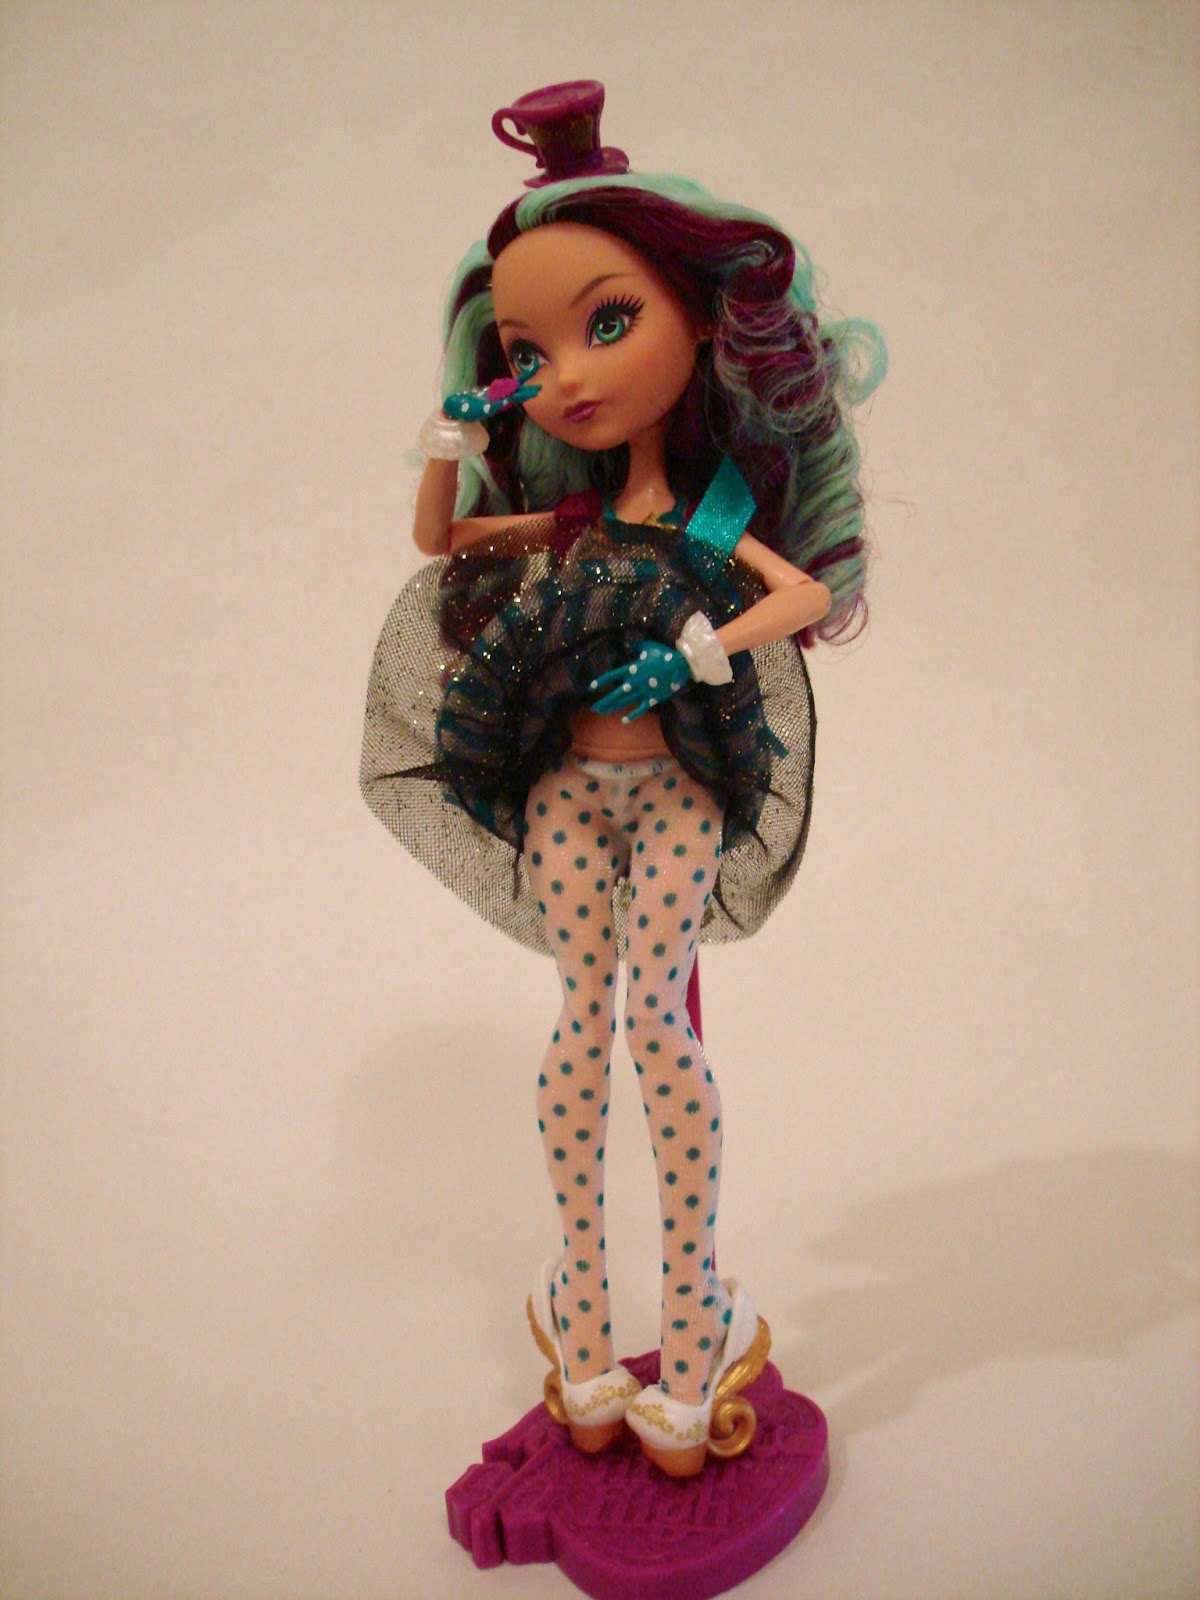
And now, a photo shoot with her new accessories!
Thanks for reading! :)
Comments and suggestions welcome below!
Read my full review of Madeline Hatter HERE.
And read my thoughts on Ever After High HERE.
Thursday, July 11, 2013
Madeline Hatter Doll Review
Surprise, surprise! I finally got an Ever After High doll! ;)
After professing my love for the new doll line here, it's no wonder I ran out to grab one of these fabulous dolls!
I found Madeline at my local Justice store (I didn't even know we HAD a Justice) but they have them all online now and they are still on sale for the moment!! However, I'm sure other stores will carry them soon enough. :)
Apparently some stores seem to only have the Rebel dolls while others only have the Royals so far. A few lucky ones have both. I was not so lucky.
My store only have the Rebels in stock, which is better than not having any, but I really wanted to get Apple White first. Oh well. :)
I decided to bring home Madeline, and she's even more fun and beautiful than I originally thought!
"Oh, stop it, you!"
"A little help, please?!"
After professing my love for the new doll line here, it's no wonder I ran out to grab one of these fabulous dolls!
I found Madeline at my local Justice store (I didn't even know we HAD a Justice) but they have them all online now and they are still on sale for the moment!! However, I'm sure other stores will carry them soon enough. :)
Apparently some stores seem to only have the Rebel dolls while others only have the Royals so far. A few lucky ones have both. I was not so lucky.
My store only have the Rebels in stock, which is better than not having any, but I really wanted to get Apple White first. Oh well. :)
I decided to bring home Madeline, and she's even more fun and beautiful than I originally thought!
"Oh, stop it, you!"
This is my first real doll review so bear with me. :)
First: The Box
I love the storybook packaging of the ever after high dolls! It's so cute, and surprisingly easy to open!
There she is. All shiny and new.
"Hey, can you get me out of here?! It's not as fun as it looks!"
She has a super cute water color background with her name in blue font. She looks so cute in the package, I almost don't want to take her out.
"You know, a picture's worth a thousand words. You don't have to describe my box, they can see it. And what did you mean about not taking me out! That's cruelty!"
I especially love how her box looks like a book. :)
Here's the backside with some pretty artwork.
Gorgeous.
And the other end shows pages.
"Pssst. NO ONE cares about boxes. They want to see ME."
"Seriously. I'm going to have to call the cops if you don't start cutting soon."
The top of the box.
Whoever the artist is for this line, I am their biggest fan.
"Okay, I'm going to count to three. One.... Two...."
As I said before, the box is pretty easy to open like Monster High dolls. (And unlike Disney Store dolls.) The plastic front pops off in one piece with easy to remove tabs and no dumb tape! (I'm looking at you Disney Store.)
You could easily photograph the doll still attached to her background without any plastic glare!
"Yeah, but WHY would you want to?!"
"Oh, okay. Tip my box. REAL mature."
The stand, instructions, and all the things you have to cut are hidden inside the "book". But don't rip open the spine. Be smarter than me. Cut the small tape pieces on the top and bottom holding it closed. There you go.
"I can't...really...breathe...."
Cute stand! Make sure you get out all three pieces.
I didn't take pictures of getting Madeline free, but it's pretty standard doll deboxing. Just be conscious of her hair and clothing and snip away the rubber bands holding her in. No wires or sewn in hair! Yay!
She does, however, have THREE of those annoying "head staples" that I have never understood. Cut them free from the box from the inside where you have cardboard between your scissors and her hair. Once the doll is free from the box, you can carefully trim them small and/or push them inside her head with your thumb. If they go all the way in, no more spikes! :)
"Streeeeetch! I'm free!! Thank you!"
"Now let's get rid of this evil thing before you get any ideas."
"Ooof. It's heavier than it looks!"
"A little help, please?!"
All of the dolls have a bookmark that holds their story (like the Monster High journals) in the upper right hand corner of their boxes. Be careful getting this out! There is a cardboard tab that just slips out of the "pages" part of her box. Once you get it out, don't be like me and try to peel the paper off of the cardboard front. That's the cover. Just trim on the scissor lines, genius. ;)
Then, read and enjoy! I did't take pictures of the individual pages, but you can read all four stories on Veni Vidi Dolli's Flickr HERE. She has marvelous scans of them all about halfway down the set!
"I don't remember ever saying that..."
"Well, it was cute. Inaccurate, but cute. Three stars."
Next, the Doll:
Here's Madeline modeling her new stand. The prongs are a bit thinner than Monster High ones so they're more flexible and go on a bit easier. However, it's far from perfect. A good stand. Not a great one.
"Well, I think it's better than that box."
"But who cares what I think?"
I think she's really expressive and so fun to pose! :)
Her earrings are spoons. Need I say more?
I've heard this ring has trouble staying on, so I'm keeping this elastic in place.
She comes with a super cute teapot purse.
And it opens!
"Of course it opens, silly. And they call me mad."
"The hard part is getting it back on."
She comes with a cute key-hairbrush. Her hair is lovely and soft and doesn't have an exorbitant amount of product in it. However, the curls are a bit messy from the box. I brushed each curl back into place to smooth down the extra hairs. I do NOT recommend brushing THROUGH her hair if you want it to stay curly. Just don't do it, man.
It really is lovely.
And now for the Clothes:
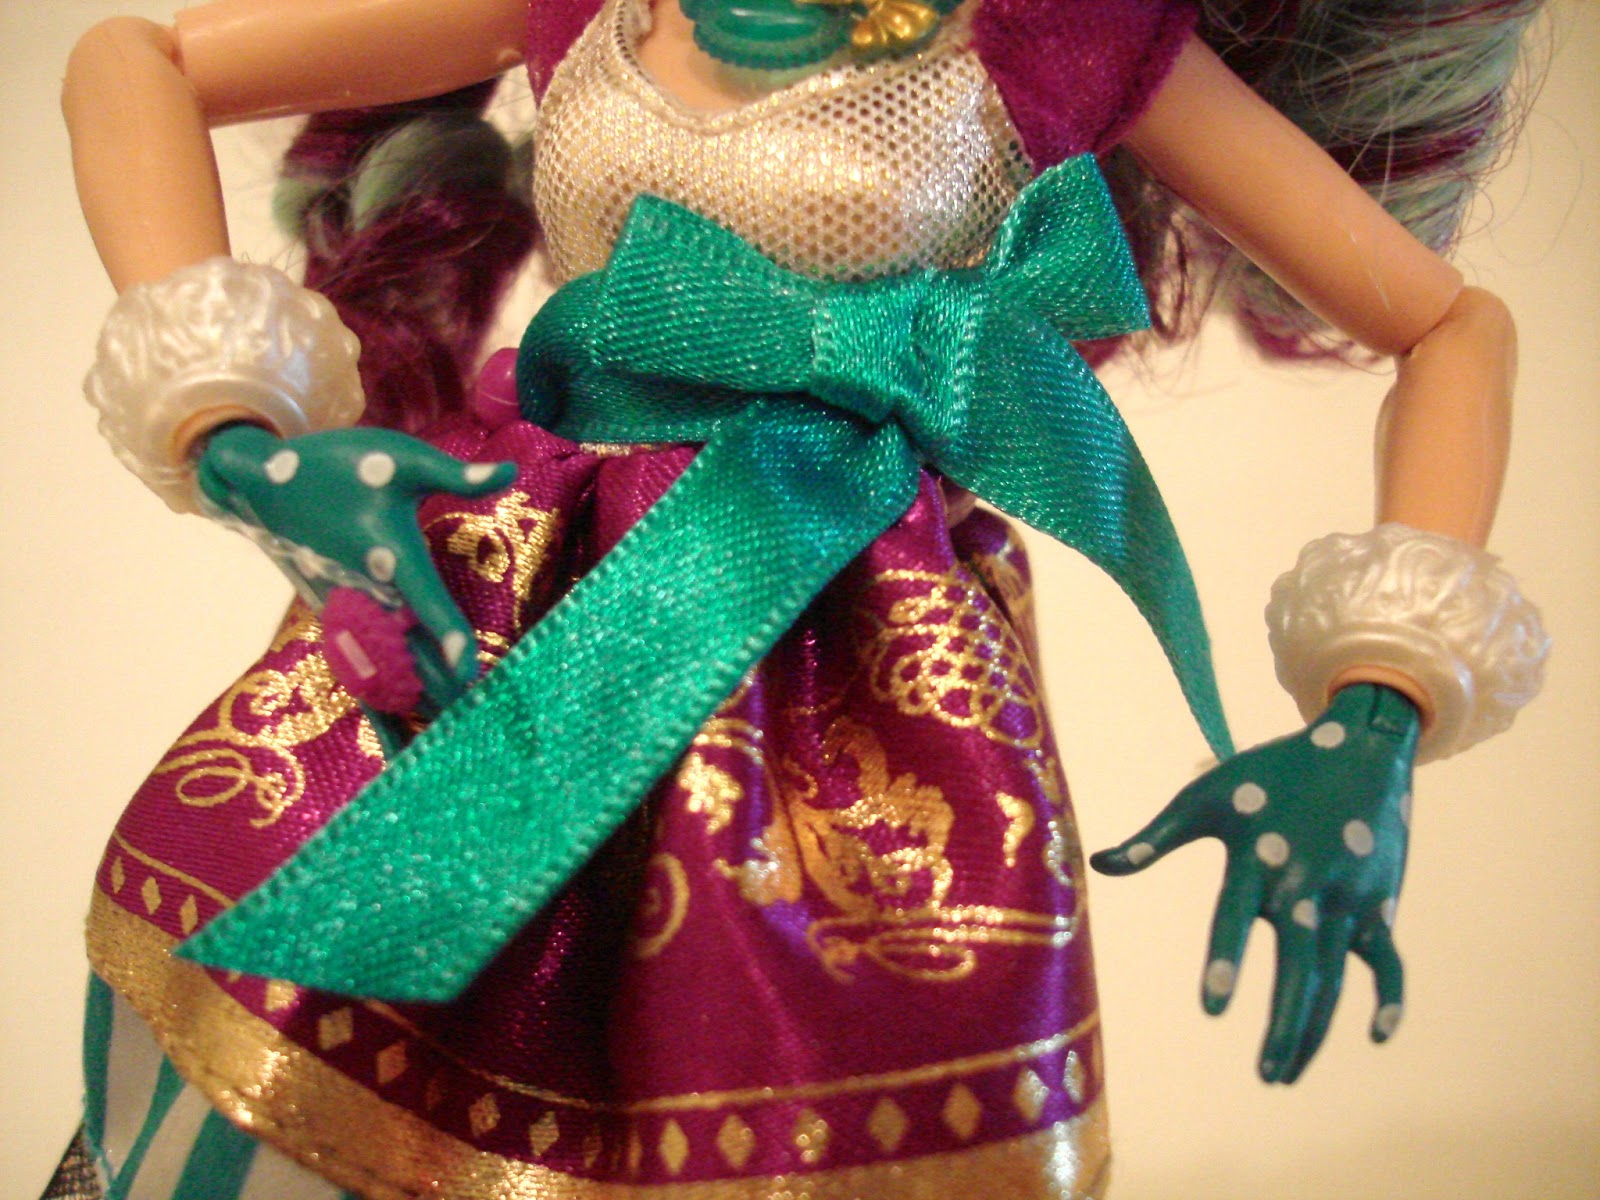
Her gloves are just her hands painted blue. Weird at first, but a lot more expressive than fabric gloves would be. Her lace cuffs are also molded plastic and can be removed if you take off her hands.
Her dress is three full layers that go all the way around!
One: Plum with gold details
Two: Pretty blue and white stripes
Three: Black tulle with golden glitter (that doesn't shed that much)
She also has beautiful polka dot tights to complete the ensemble.
"Blush"
"And don't forget my blue bow!"
"And my pretty top and necklace."
"And my enchanting eyes..."
"And my bling."
"Tea cup shoes."
"Tea cup headband."
Madeline's a bit shorter than the other Ever After High dolls and Monster High dolls. Here she is with her new classmate, Cupid. :)
"Well, I'll admit it. That was pretty fun. But now I have a better idea."
Oh, and what would that be?
"Let's go find what this HUGE key unlocks!"
THE END
Voice your thoughts on Madeline Hatter in the comments below.
See how I customized Maddie's accessories HERE.
And read my thoughts on Ever After High HERE.
Subscribe to:
Posts (Atom)